How I deploy my Golang API (to Heroku)
From Code to Cloud: Deploying Golang APIs on Heroku

For some time, I had issues deploying my Go code to Heroku, but I finally got it after a lot of trial and error. This article serves as a guide to both me and other Go devs who at some point had a little issue deploying their services to Heroku.
Features and tools we will use:
Go
Heroku
GitHub (optional but important in your developer life)
Requirements:
Heroku account
Understanding of the Go language
The finished project can be found on GitHub.
Setting of Project:
- We start by making sure Go is correctly installed. To check if Go is installed, run:
go version
You should see the output:

- Create a folder called
go-deploy, cd into the folder and create a main.go file. Note: We would not implement any conventional package structure for this article as this is simply deploying a basic Go app to Heroku, but you can check the following resources for more info: Ardan lab - Service, Reposaur.
After creating the main.go, we will install our dependencies:
- We start by setting up our go mod file by running this command in our terminal or cmd):
go mod init go-deploy ```
If I check the files in my current directory, I will see a new file named go.mod:

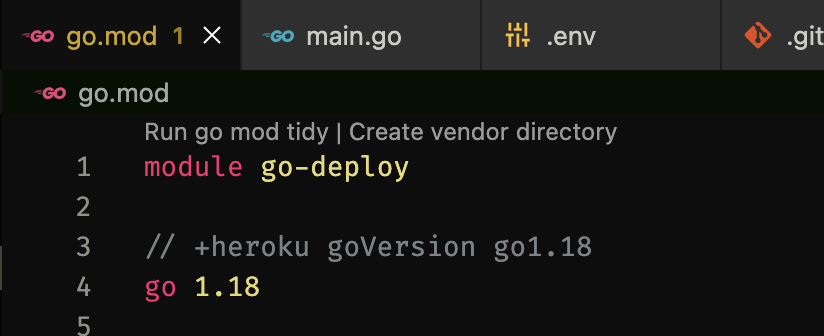
I added this tag // +heroku goVersion go1.18 to inform Heroku of the specific Go version to use when deploying the application.
- I am using the Chi router but you can use any router of your choice (Gorilla mux is a popular choice).
go get github.com/go-chi/chi
- Create a
.envfile, which stores our port address to run our code server:
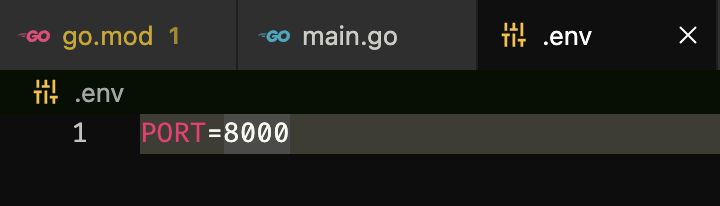
After creating the .env and populating it with some confidential data, install the godotenv package to load the .env file into our code:
go get github.com/joho/godotenv
 ```


Running the above command, check your go.mod file, there should be a new `require` addition to it. Packages 'gotten' in Go will be registered there which allows the package to be used.

After installing the needed dependencies, we will create the API handler named *home* in our `main.go` file: <br>

```go
package main

import (
 "encoding/json"
 "fmt"
 "log"
 "net/http"
 "os"

 "github.com/go-chi/chi"
 "github.com/joho/godotenv"
)

// home handler is unexported due to no other package requiring the handler
func home(w http.ResponseWriter, r *http.Request) {
 response := "Home page"
 json.NewEncoder(w).Encode(response)
}

func main() {

 // load our env
 err := godotenv.Load()
 if err != nil {
     log.Fatal("Unable to load env file")
 }

 // create a new router
 router := chi.NewRouter()
 router.HandleFunc("/", home)

 // portNumber
 var portNumber = os.Getenv("PORT")

 portNumber = ":" + portNumber
 // create our server
 srv := &http.Server{
     Addr:    portNumber,
     Handler: router,
 }

 fmt.Printf("Starting server on port %s\n", portNumber)
 err = srv.ListenAndServe()
 if err != nil {
     log.Fatal(err)
 }

}
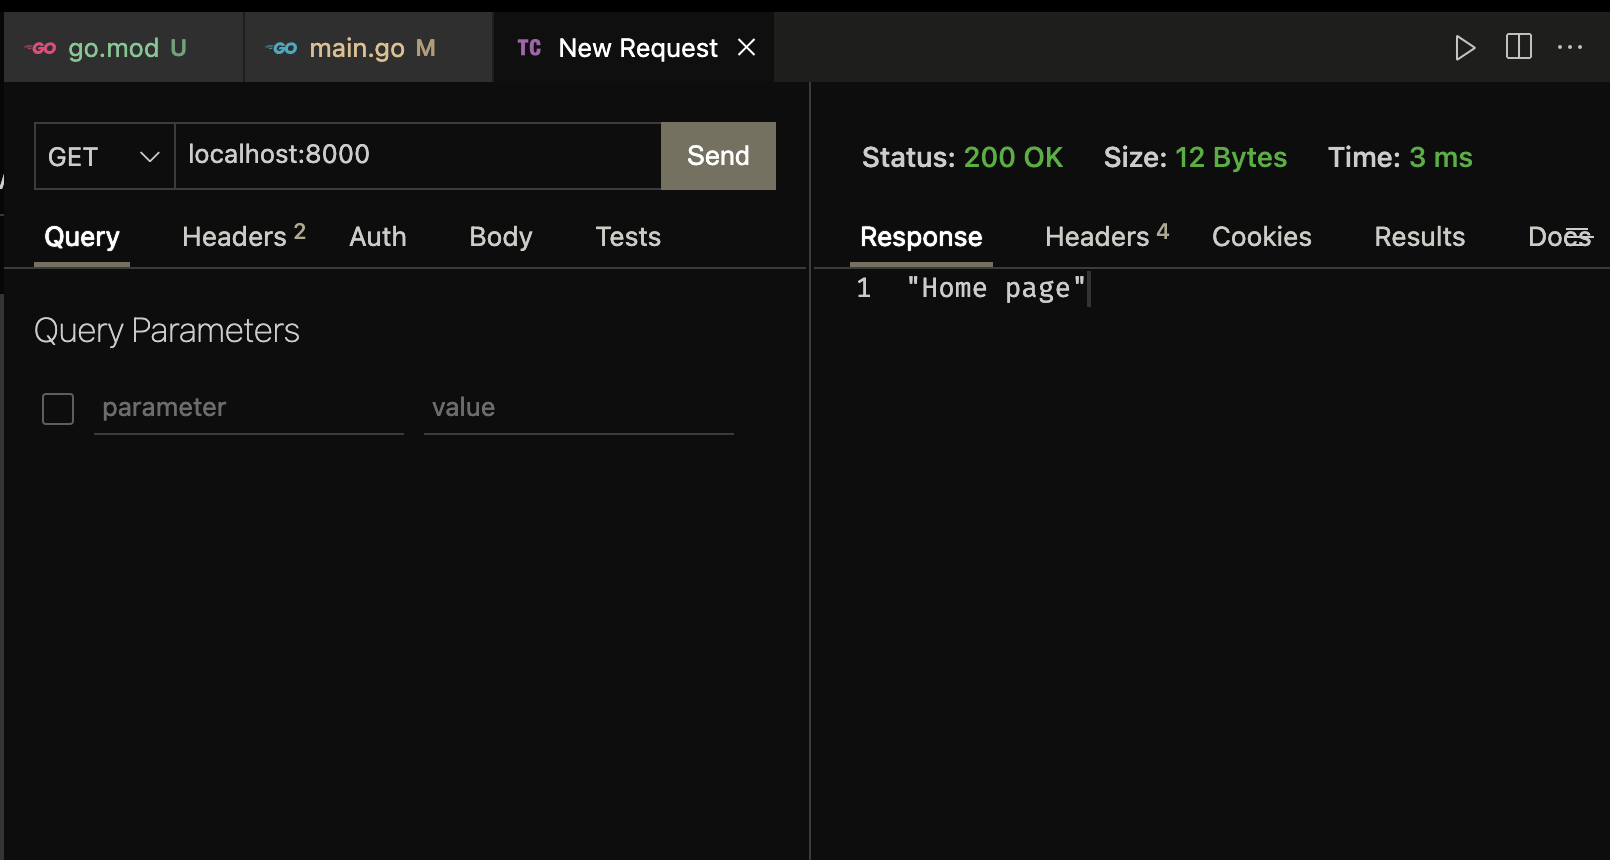
We start the application server by running:
go run main.go

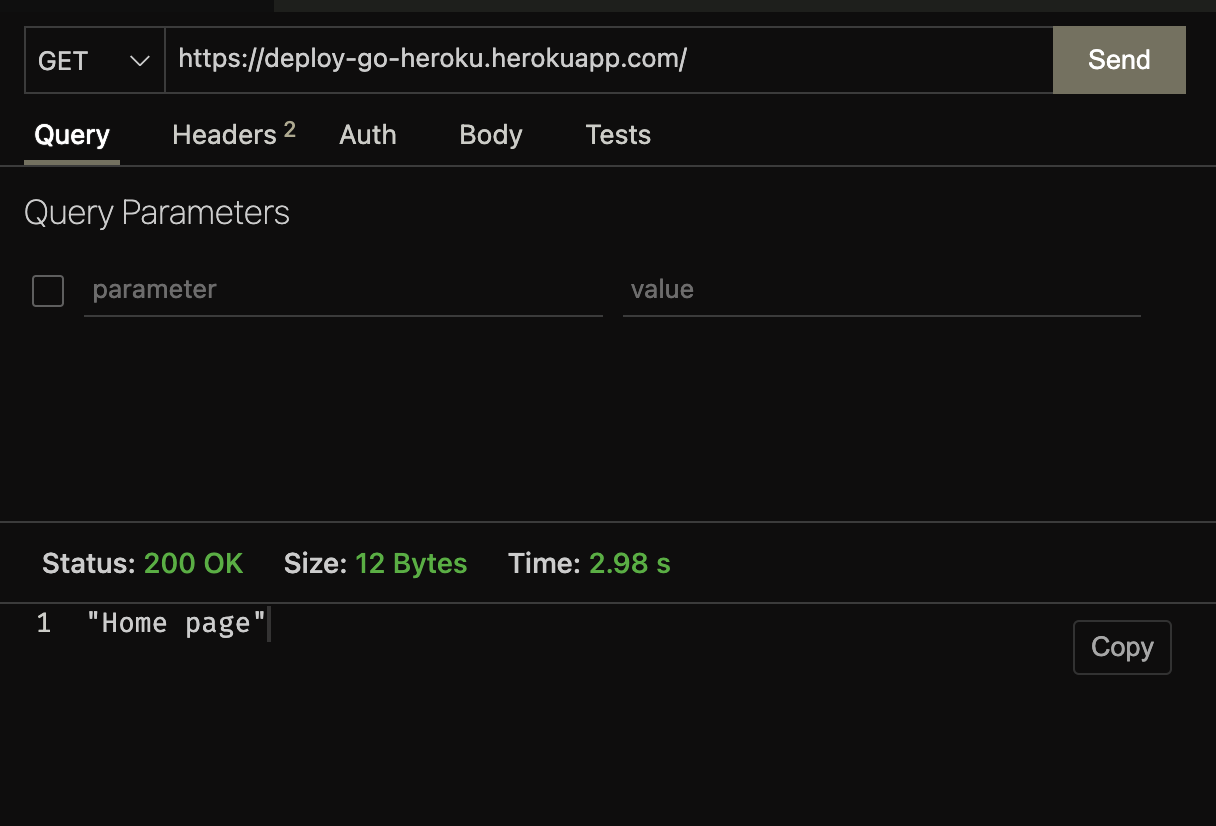
Testing to see if the handler works by running our request (I use a VScode extension called Thunder Client, you can use Postman):
Deploying to Heroku
Seeing as the application works, it is time to deploy to Heroku: Make sure you have an account with Heroku, if you do not, create one.
- Install the Heroku CLI: For Mac users, run this command in the terminal:
brew tap heroku/brew && brew install heroku
For Windows and Linux users, visit the installation guide.
- Verify the installation of the Heroku CLI:

After verification, log into the CLI by running heroku login in your terminal:

A browser window will open and ask you to login. Once login is successful, you can perform Heroku commands in your terminal.
Not an important step but will help you in your dev life: Create a Github account and create a Github repository.
Initialize a git repository in your terminal by running:
git init
- Add and commit the files you have to the empty repository created:
git add .
git commit -m "deploying to heroku"
- Create a new branch called
mainwhich by default Heroku deploys from:
git branch -M main
- This step is if you want to push to Github (remember step 3): Add the Github repository you created and push to the Github branch:
git add origin https://github.com/<your-name>/<repo-name>.git
git push origin main
Github has a new security setting called: Personal access token, read on it before continuing to allow you push to Github without a password.
- Create a new Heroku app from the CLI:
heroku create -a <name-of-your-app>
or
heroku apps:create <name-of-your-app>

- Add the created Heroku app to this project:
heroku git:remote -a <name-of-your-app>

For more information on this: Deploying with Git
- Push to Heroku:
git push heroku main
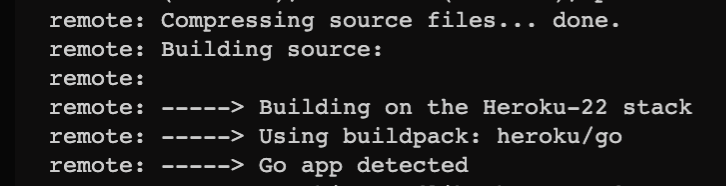
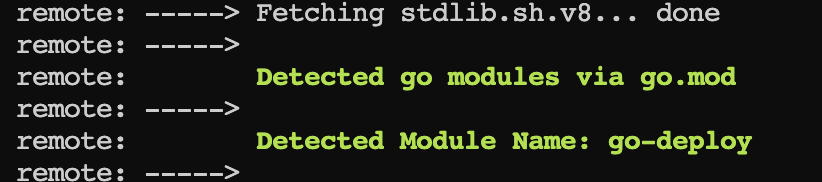

Running the deployed application, our API has been successfully deployed to Heroku:
Why I mentioned using Github is because Heroku allows automatic deploys from Github by creating a pipeline, therefore, instead of running the commands above after every significant change, you can just push to Github and the change will automatically be deployed.
Conclusion
In this article, we learned how to deploy a Go app to Heroku. Although there was no conventional package structure followed, Heroku has a guide for Go devs still using [dep](https://github.com/golang/dep) which is [linked here](https://devcenter.heroku.com/articles/go-dependencies-via-godep). For further enquiries, Heroku has a well-detailed [article](https://devcenter.heroku.com/articles/getting-started-with-go?singlepage=true) on this topic, although it deploys the Gin framework. Comments are appreciated. Until next time, happy coding!


